
I avoid the kitchen during the spring and summer like the plague – and for good reason. Grilled food is my favorite, and I like soaking up the fresh air and sunshine when possible. I can watch my munchkin play on the patio all while whipping up a quick and easy dinner. The added bonus is that grilling is energy-efficient. It helps keep your home cool by eliminating the need to turn on the stove and oven.
Now, if you can’t tell by some of my other recipes, most meals often have to pass the kid test. I’ll walk you through step-by-step, and if you’d prefer to do a Stromboli or calzone instead, just fold the pizza in half and pinch the edges. Simple.
Between work and family, I try to save time when possible without sacrificing flavor. You can make your own pizza dough, but I often buy dough in the store. I either buy it fresh or frozen so that I have it handy and ready to go whenever I am. If frozen, I just take it out a day or two early so that it can thaw and rise in the fridge for when we’re ready to grill! The great thing about these pizzas is that you can make one for the whole family, or you can make individual pizzas that allow everyone to pick their own favorite toppings.
Step 1:
Preheat your grill to about medium-high. Be sure the grill grates are clean and lightly oil the grill when hot.
Step 2:
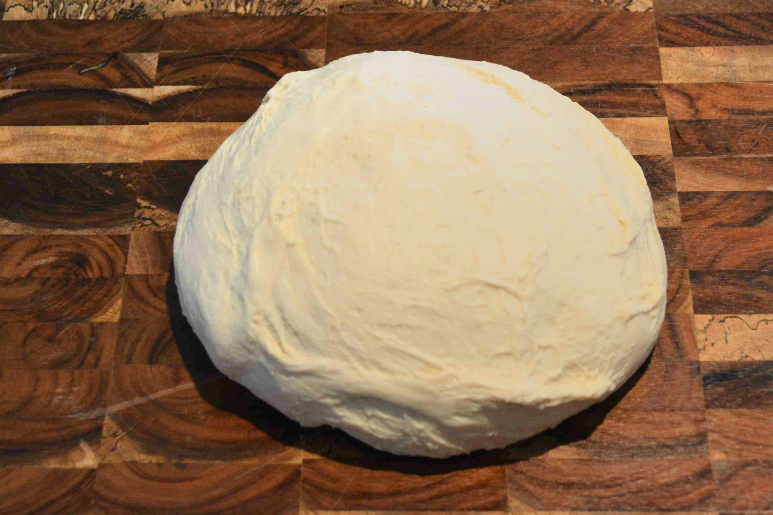
Let dough sit at room temperature for about 30 minutes to an hour prior to rolling or shaping.
Stretch, roll and shape the dough on a floured surface to the desired thickness; I went about ¼ inch thick.
Step 3:
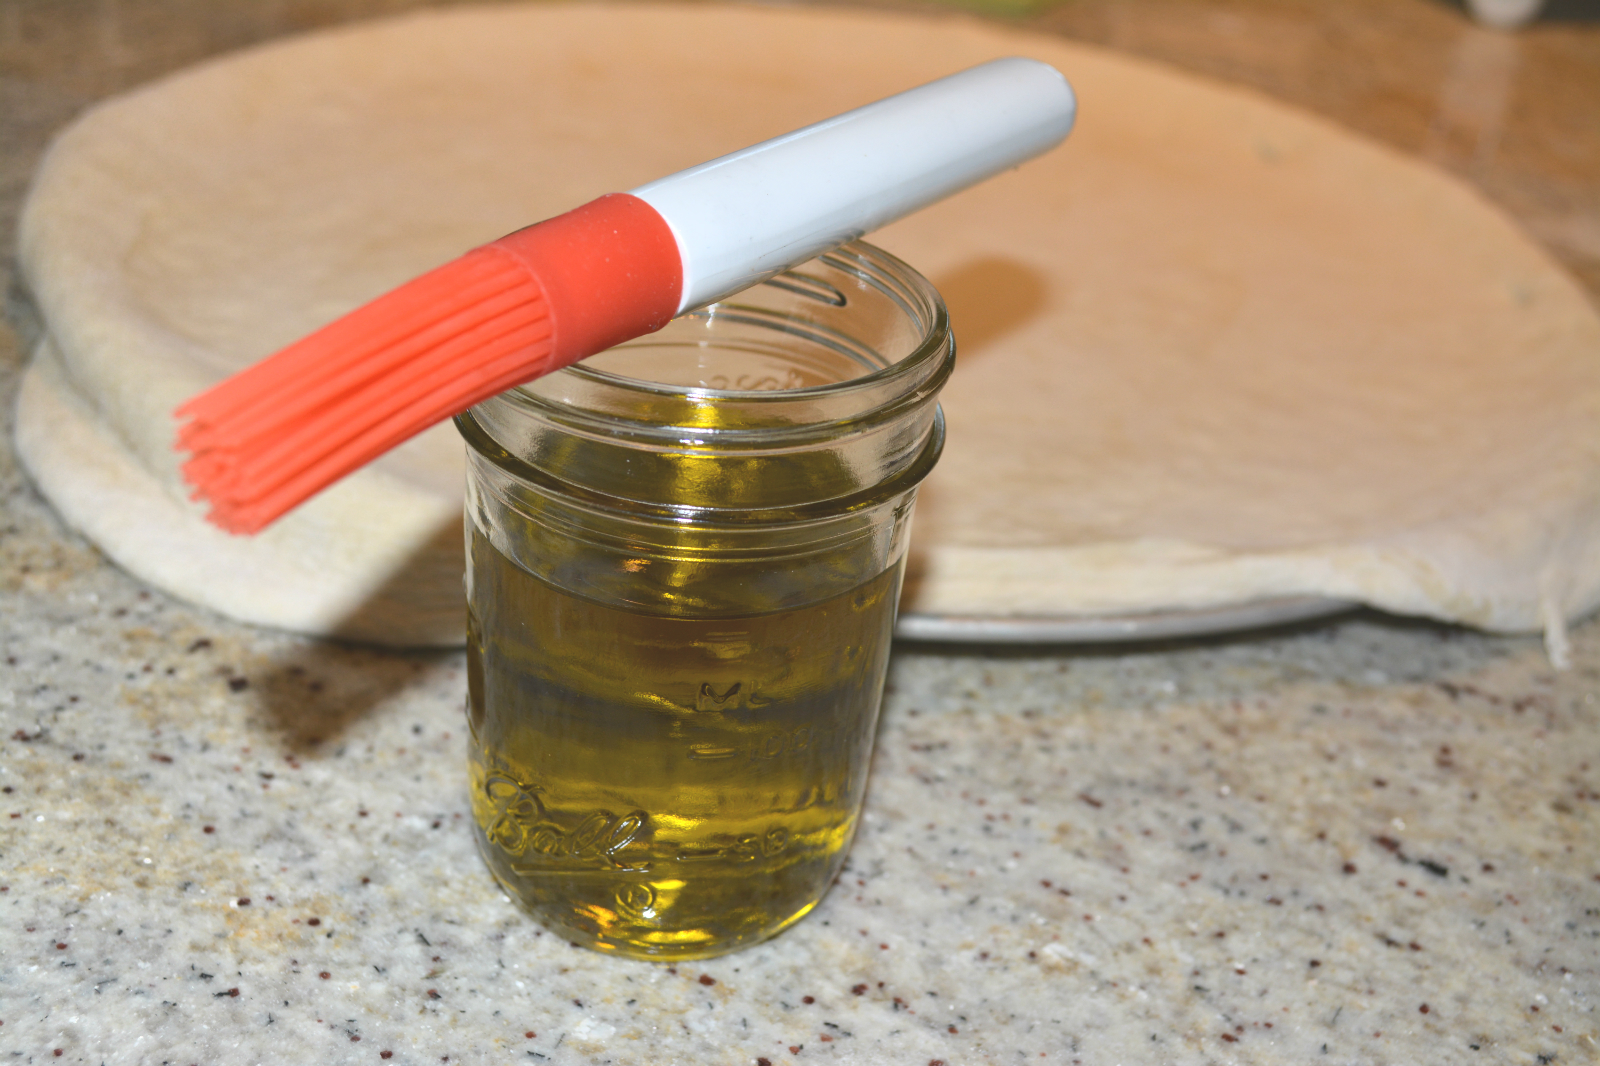
Brush one side of the dough lightly with olive oil to prevent sticking.
Step 4:
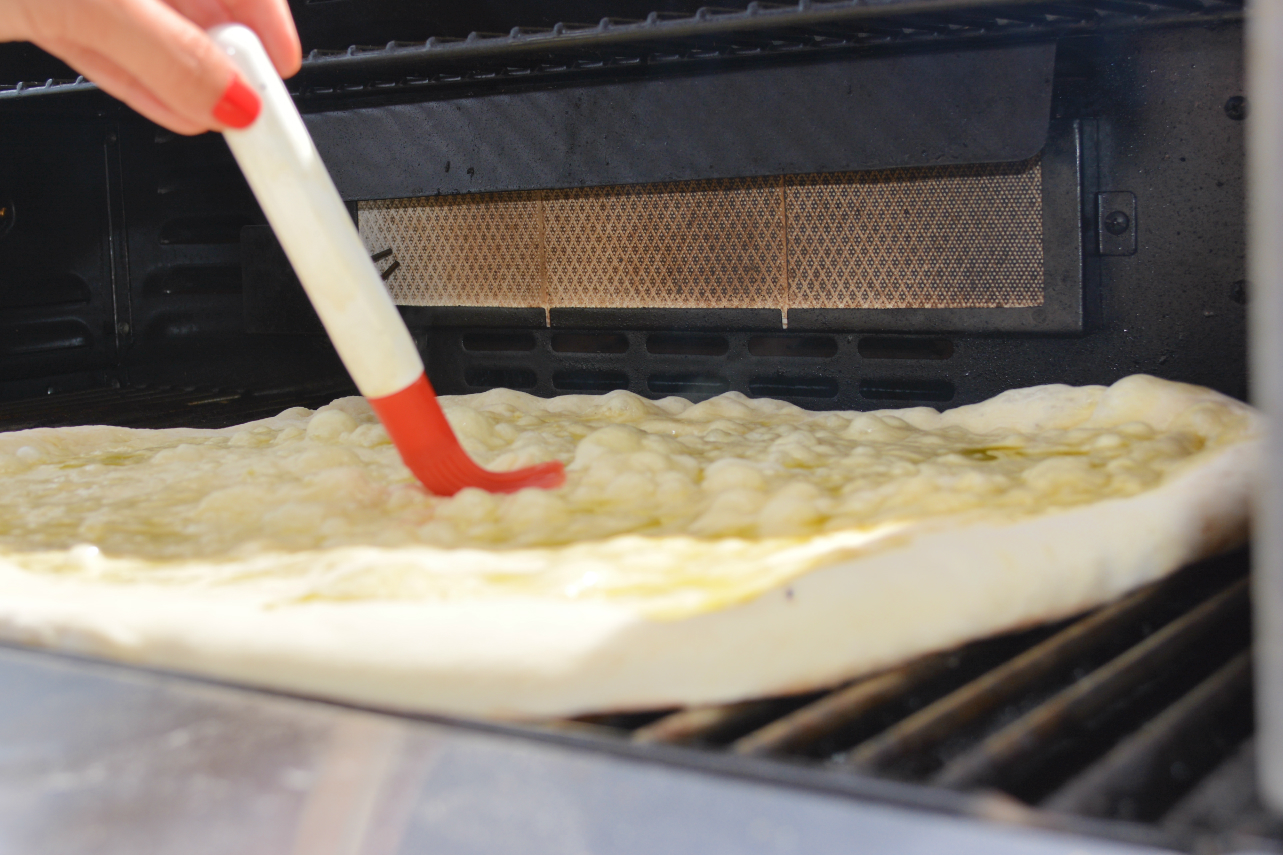
Place the dough, oiled-side down on the grill, and then brush the other side with the oil. Stay nearby to keep an eye on it. After a few minutes the dough should have some bubbling action going on. Check for light grill marks. If they’re there, flip the dough. Don’t be scared – light charring is normal.
Step 5:
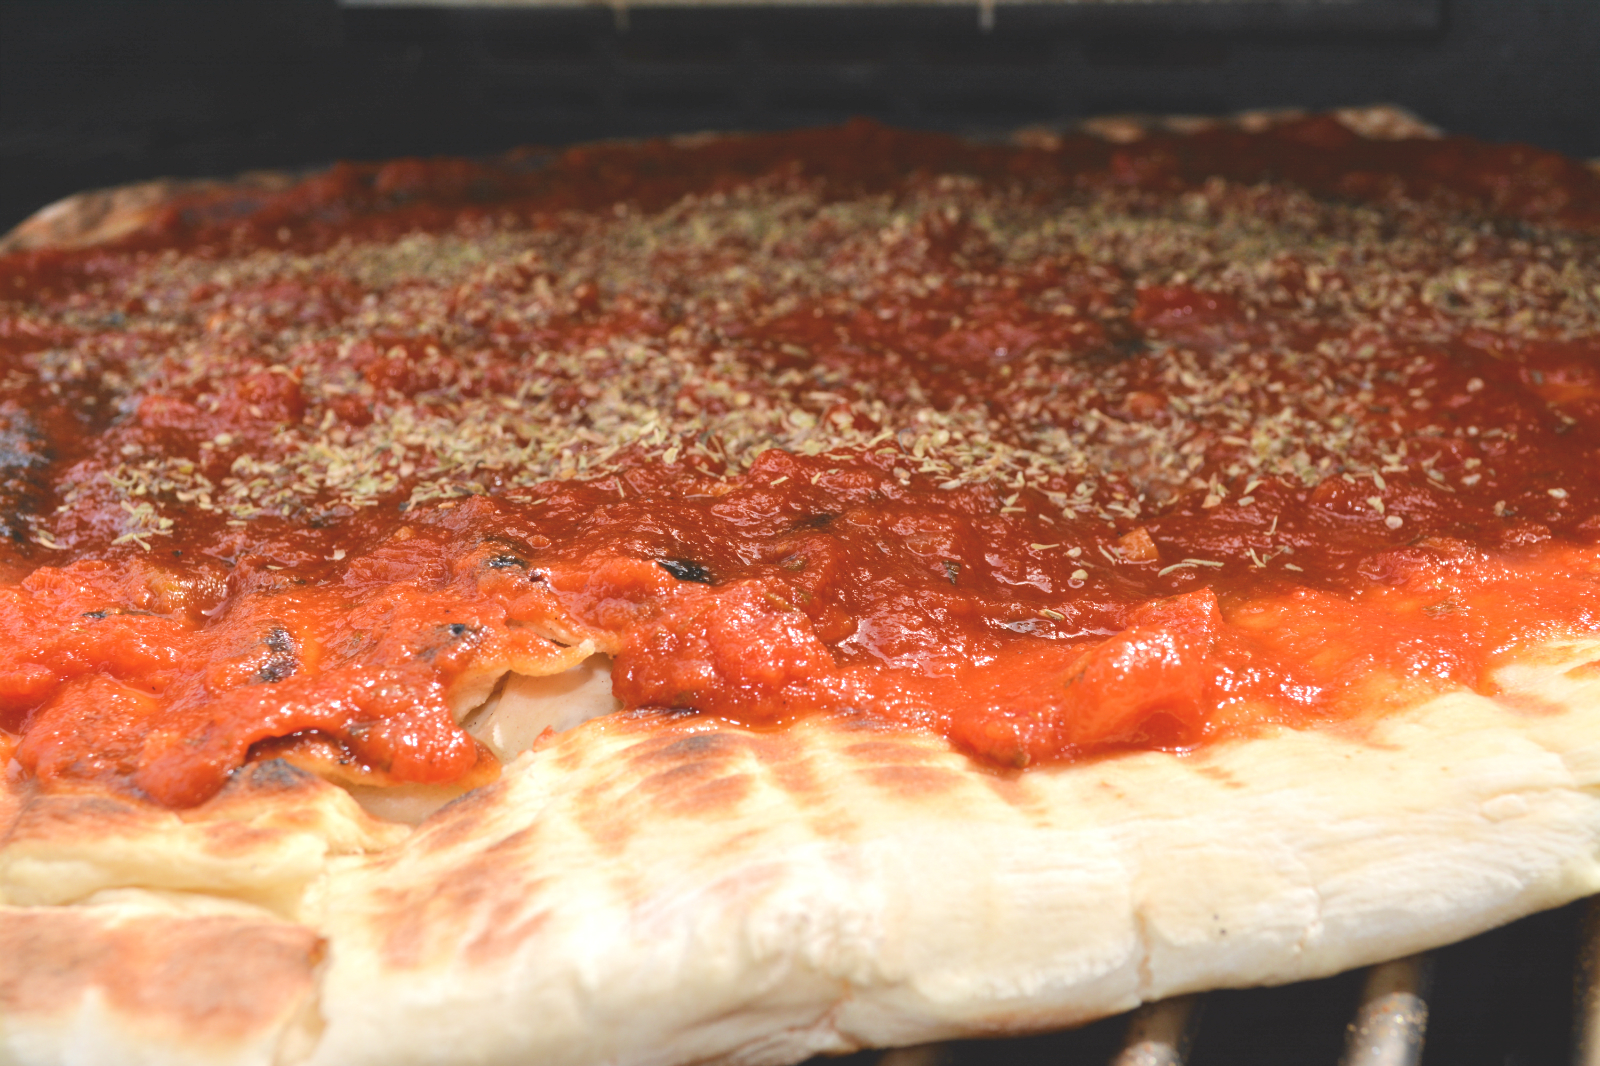
Top with sauce, cheese and the toppings of your choice and close the lid. As you did in the previous step, stay nearby. Depending on your grill, you may need to move the dough around every so often to prevent the crust from burning while the toppings are melting and heating through.
Step 6:
Remove from heat and let cool. Energy savings never tasted this good! Mmm…

Leave a comment